
Effective Approaches to Repairing Water Softeners
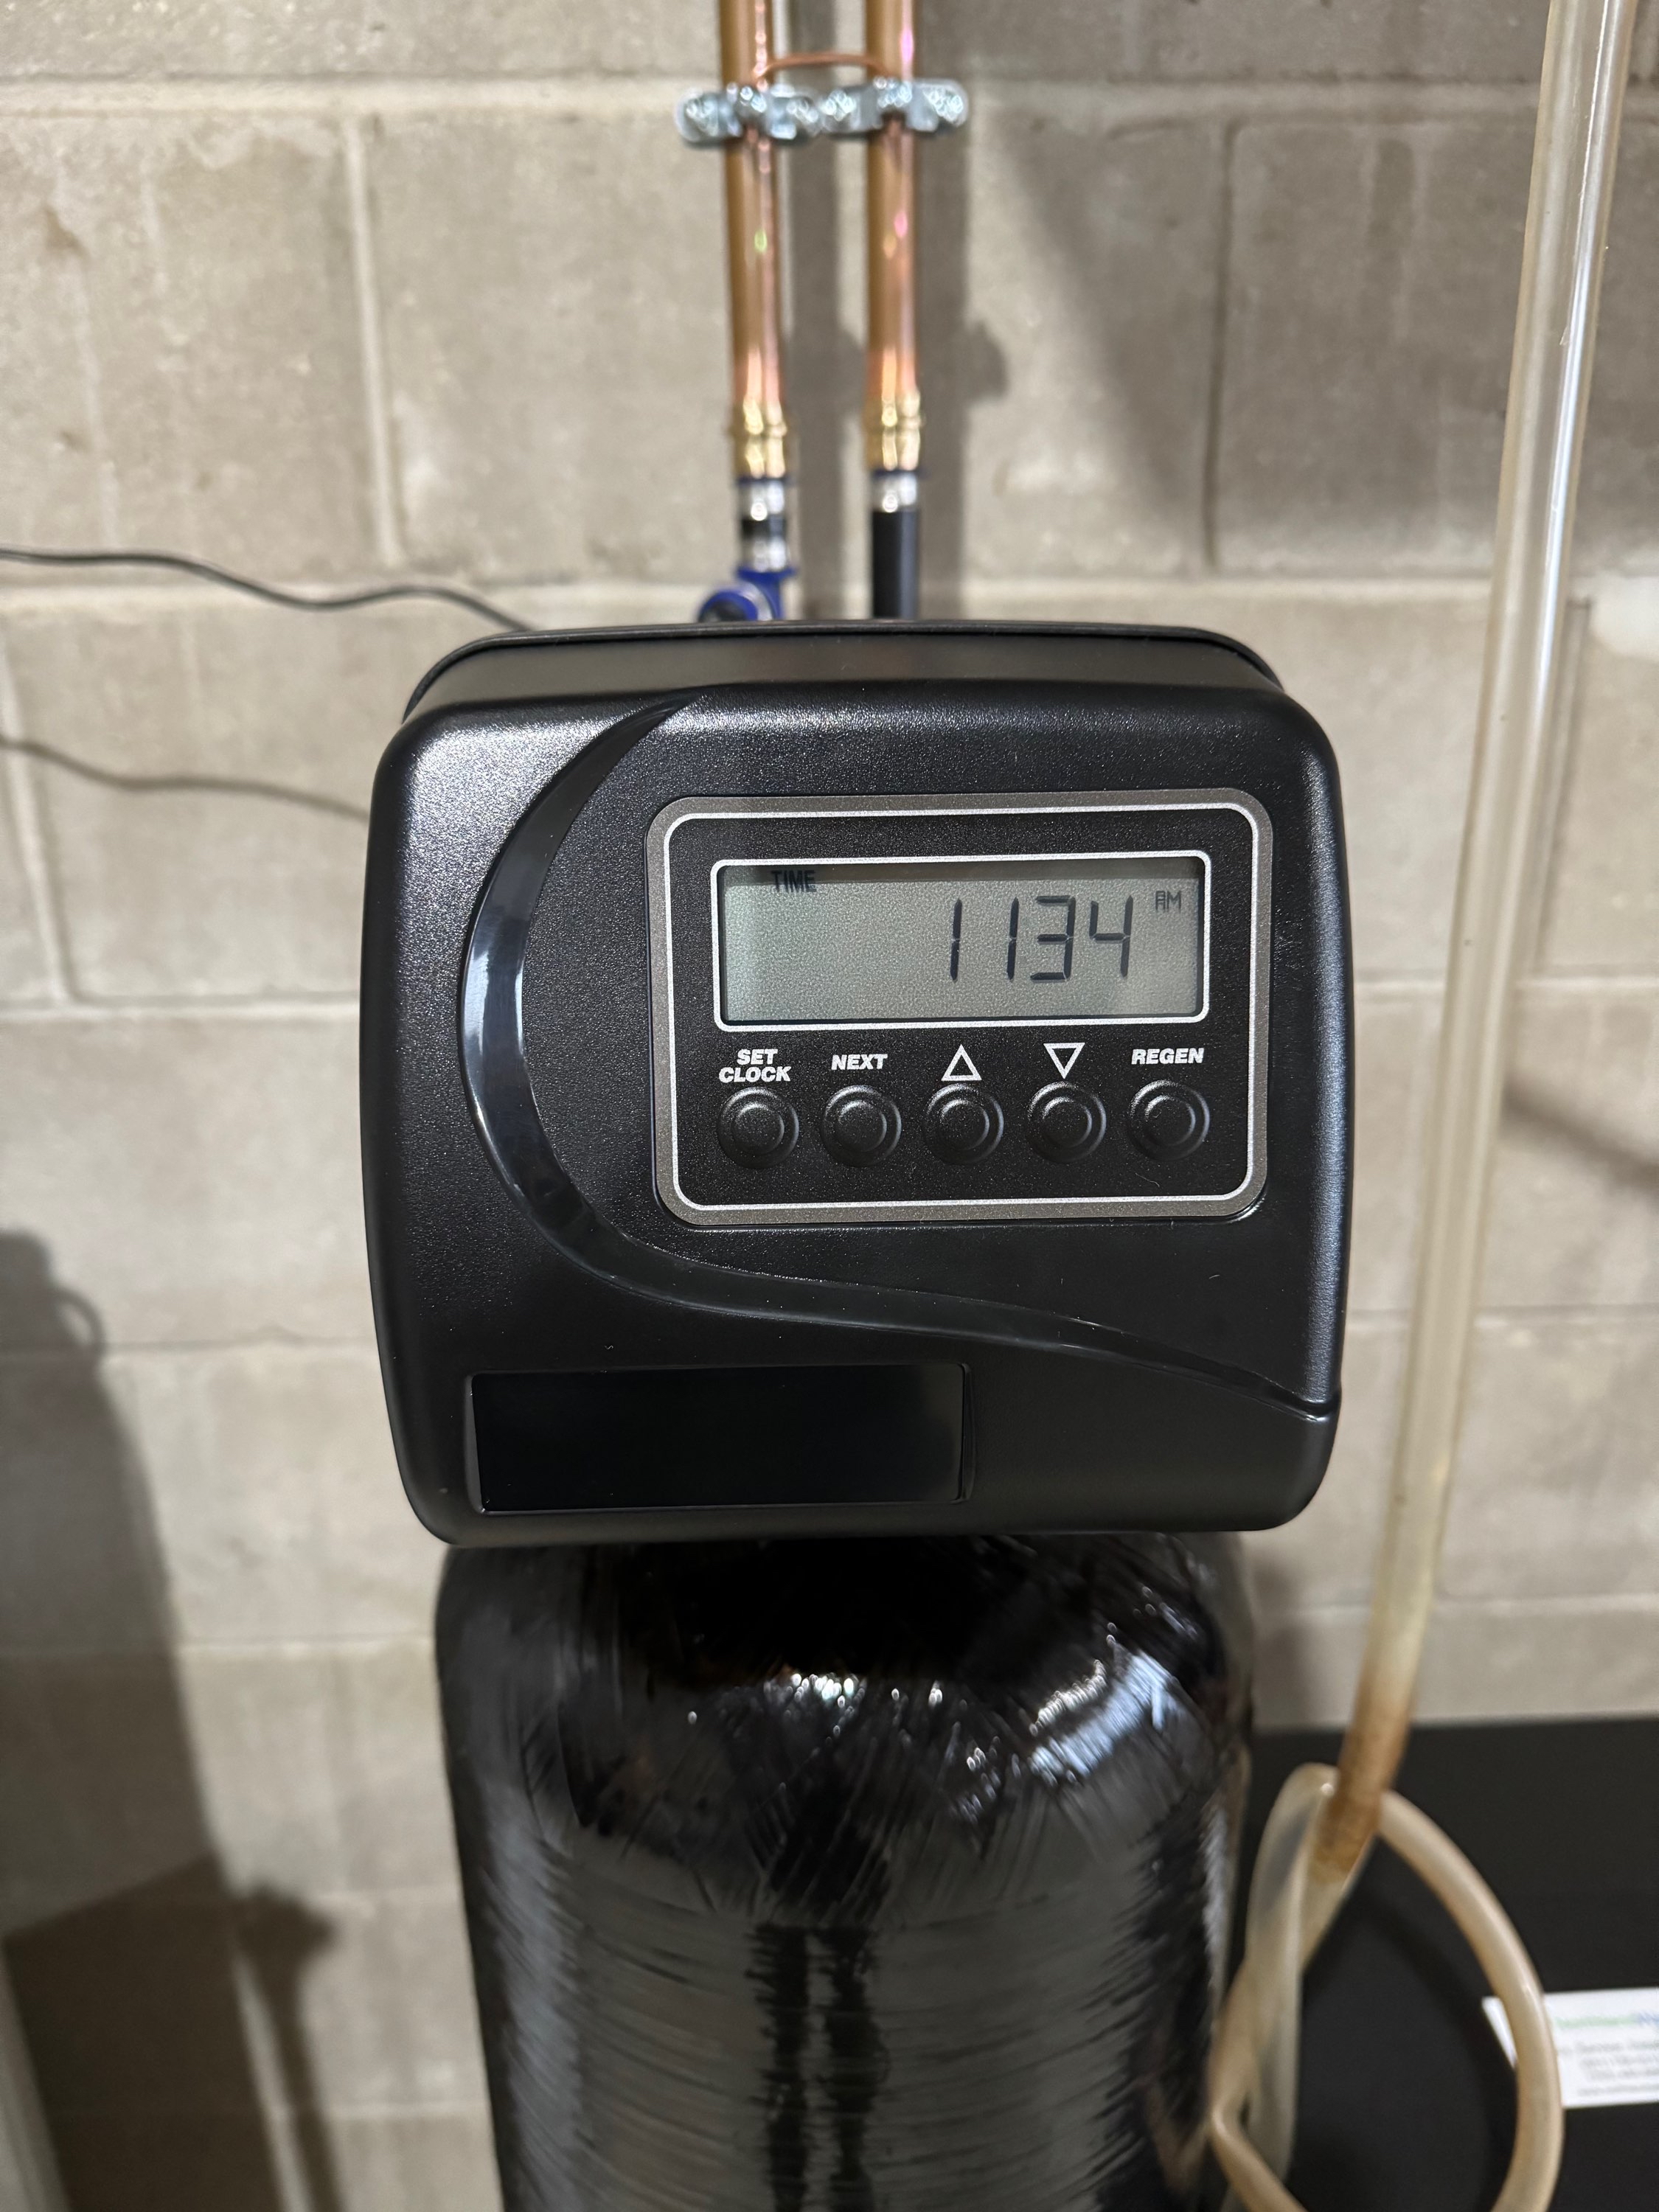
If you’ve noticed your water softener isn’t working quite right, you’re not alone. Many homeowners face issues with their water softening systems at some point. The good news? Repairing water softeners is often straightforward, and with a little know-how, you can get your system back to running smoothly. Let’s dive into some effective approaches to repairing water softeners that will save you time, money, and frustration.
Understanding the Basics of Repairing Water Softeners
Before jumping into repairs, it helps to understand how your water softener works. At its core, a water softener removes minerals like calcium and magnesium from your water, preventing hard water problems such as scale buildup and soap scum. The system typically includes a resin tank, brine tank, control valve, and sometimes a bypass valve.
When something goes wrong, it’s usually related to one of these components. For example, the resin beads might be exhausted, the brine tank could be clogged, or the control valve might be malfunctioning. Knowing these parts and their functions makes troubleshooting much easier.
Here are some common issues you might encounter:
Water feels hard or spots appear on dishes
Salt bridges or salt mushing in the brine tank
Water softener not regenerating properly
Leaks around the system
Error codes on digital control heads
By identifying the symptom, you can narrow down the cause and decide on the best repair approach.

Practical Tips for Repairing Water Softeners
Now that you know what to look for, let’s talk about practical steps you can take to fix your water softener. You don’t need to be a plumber to handle many of these repairs yourself.
1. Check the Salt Level and Condition
Salt is essential for regenerating the resin beads. If the salt level is low or the salt has hardened into a crust (called a salt bridge), your system won’t regenerate properly. Use a broom handle or similar tool to gently break up any salt bridges. Then, refill the tank with high-quality water softener salt.
2. Clean the Brine Tank
Over time, sediment and impurities can build up in the brine tank. Empty the tank, rinse it thoroughly, and remove any sludge or debris. This helps maintain proper salt dissolution and brine concentration.
3. Inspect and Clean the Resin Tank
If your water softener isn’t softening water effectively, the resin beads might be fouled or exhausted. You can clean the resin with a resin cleaner available at hardware stores. In some cases, replacing the resin beads is necessary, but this is less common.
4. Examine the Control Valve and Settings
The control valve manages the regeneration cycle. Make sure it’s set correctly according to your water hardness and usage. If the valve is stuck or malfunctioning, cleaning or replacing it might be required. Sometimes, simply resetting the system can fix minor glitches.
5. Look for Leaks and Replace Worn Parts
Leaks can cause water damage and reduce system efficiency. Check all connections, seals, and hoses for signs of wear or damage. Replace any faulty parts promptly to avoid bigger problems.
6. Perform a Manual Regeneration Cycle
Running a manual regeneration can help reset the system and clear minor issues. Consult your water softener’s manual for instructions on how to initiate this cycle.
If you want to learn more about detailed troubleshooting and repair techniques, you can explore water softener repair resources online.

Is it worth fixing a water softener?
You might wonder if repairing your water softener is worth the effort or if it’s better to replace it altogether. Here’s how to decide:
Age of the system: Water softeners typically last 10-15 years. If yours is older than that, replacement might be more cost-effective.
Cost of repairs: Minor repairs like cleaning or replacing small parts are usually affordable. However, if you face expensive component replacements, weigh the cost against a new system.
Performance: If your water softener frequently breaks down or doesn’t soften water well even after repairs, it might be time for an upgrade.
Water quality needs: Changes in your water source or household size might require a different capacity or type of softener.
In many cases, repairing your existing system is a smart choice. It extends the life of your investment and keeps your water quality high without the hassle of installation.
When to Call a Professional for Water Softener Repair
While many repairs are DIY-friendly, some situations call for professional help. Don’t hesitate to reach out if:
You’re unsure about diagnosing the problem
The control valve or electronic components need replacement
There are persistent leaks or water damage risks
You want to ensure the system is optimized for your home’s water hardness
A trusted local expert can provide thorough diagnostics and reliable repairs, giving you peace of mind. Plus, they can perform routine maintenance to prevent future issues.
Maintaining Your Water Softener to Avoid Repairs
Prevention is always better than cure. Regular maintenance keeps your water softener running smoothly and reduces the need for repairs. Here are some simple tips:
Check salt levels monthly and refill as needed
Inspect the brine tank for salt bridges or mush
Clean the brine tank annually
Run a manual regeneration cycle occasionally
Schedule professional maintenance every 1-2 years
By staying on top of these tasks, you’ll enjoy soft water without interruptions.
Repairing water softeners doesn’t have to be complicated or stressful. With a little attention and care, you can keep your system in great shape for years. Remember, if you ever feel stuck, professional help is just a call away. Your water softener is a valuable part of your home’s comfort and health - treat it well, and it will serve you faithfully.


Comments