
Mastering Installing Home Water Softeners for Your Home
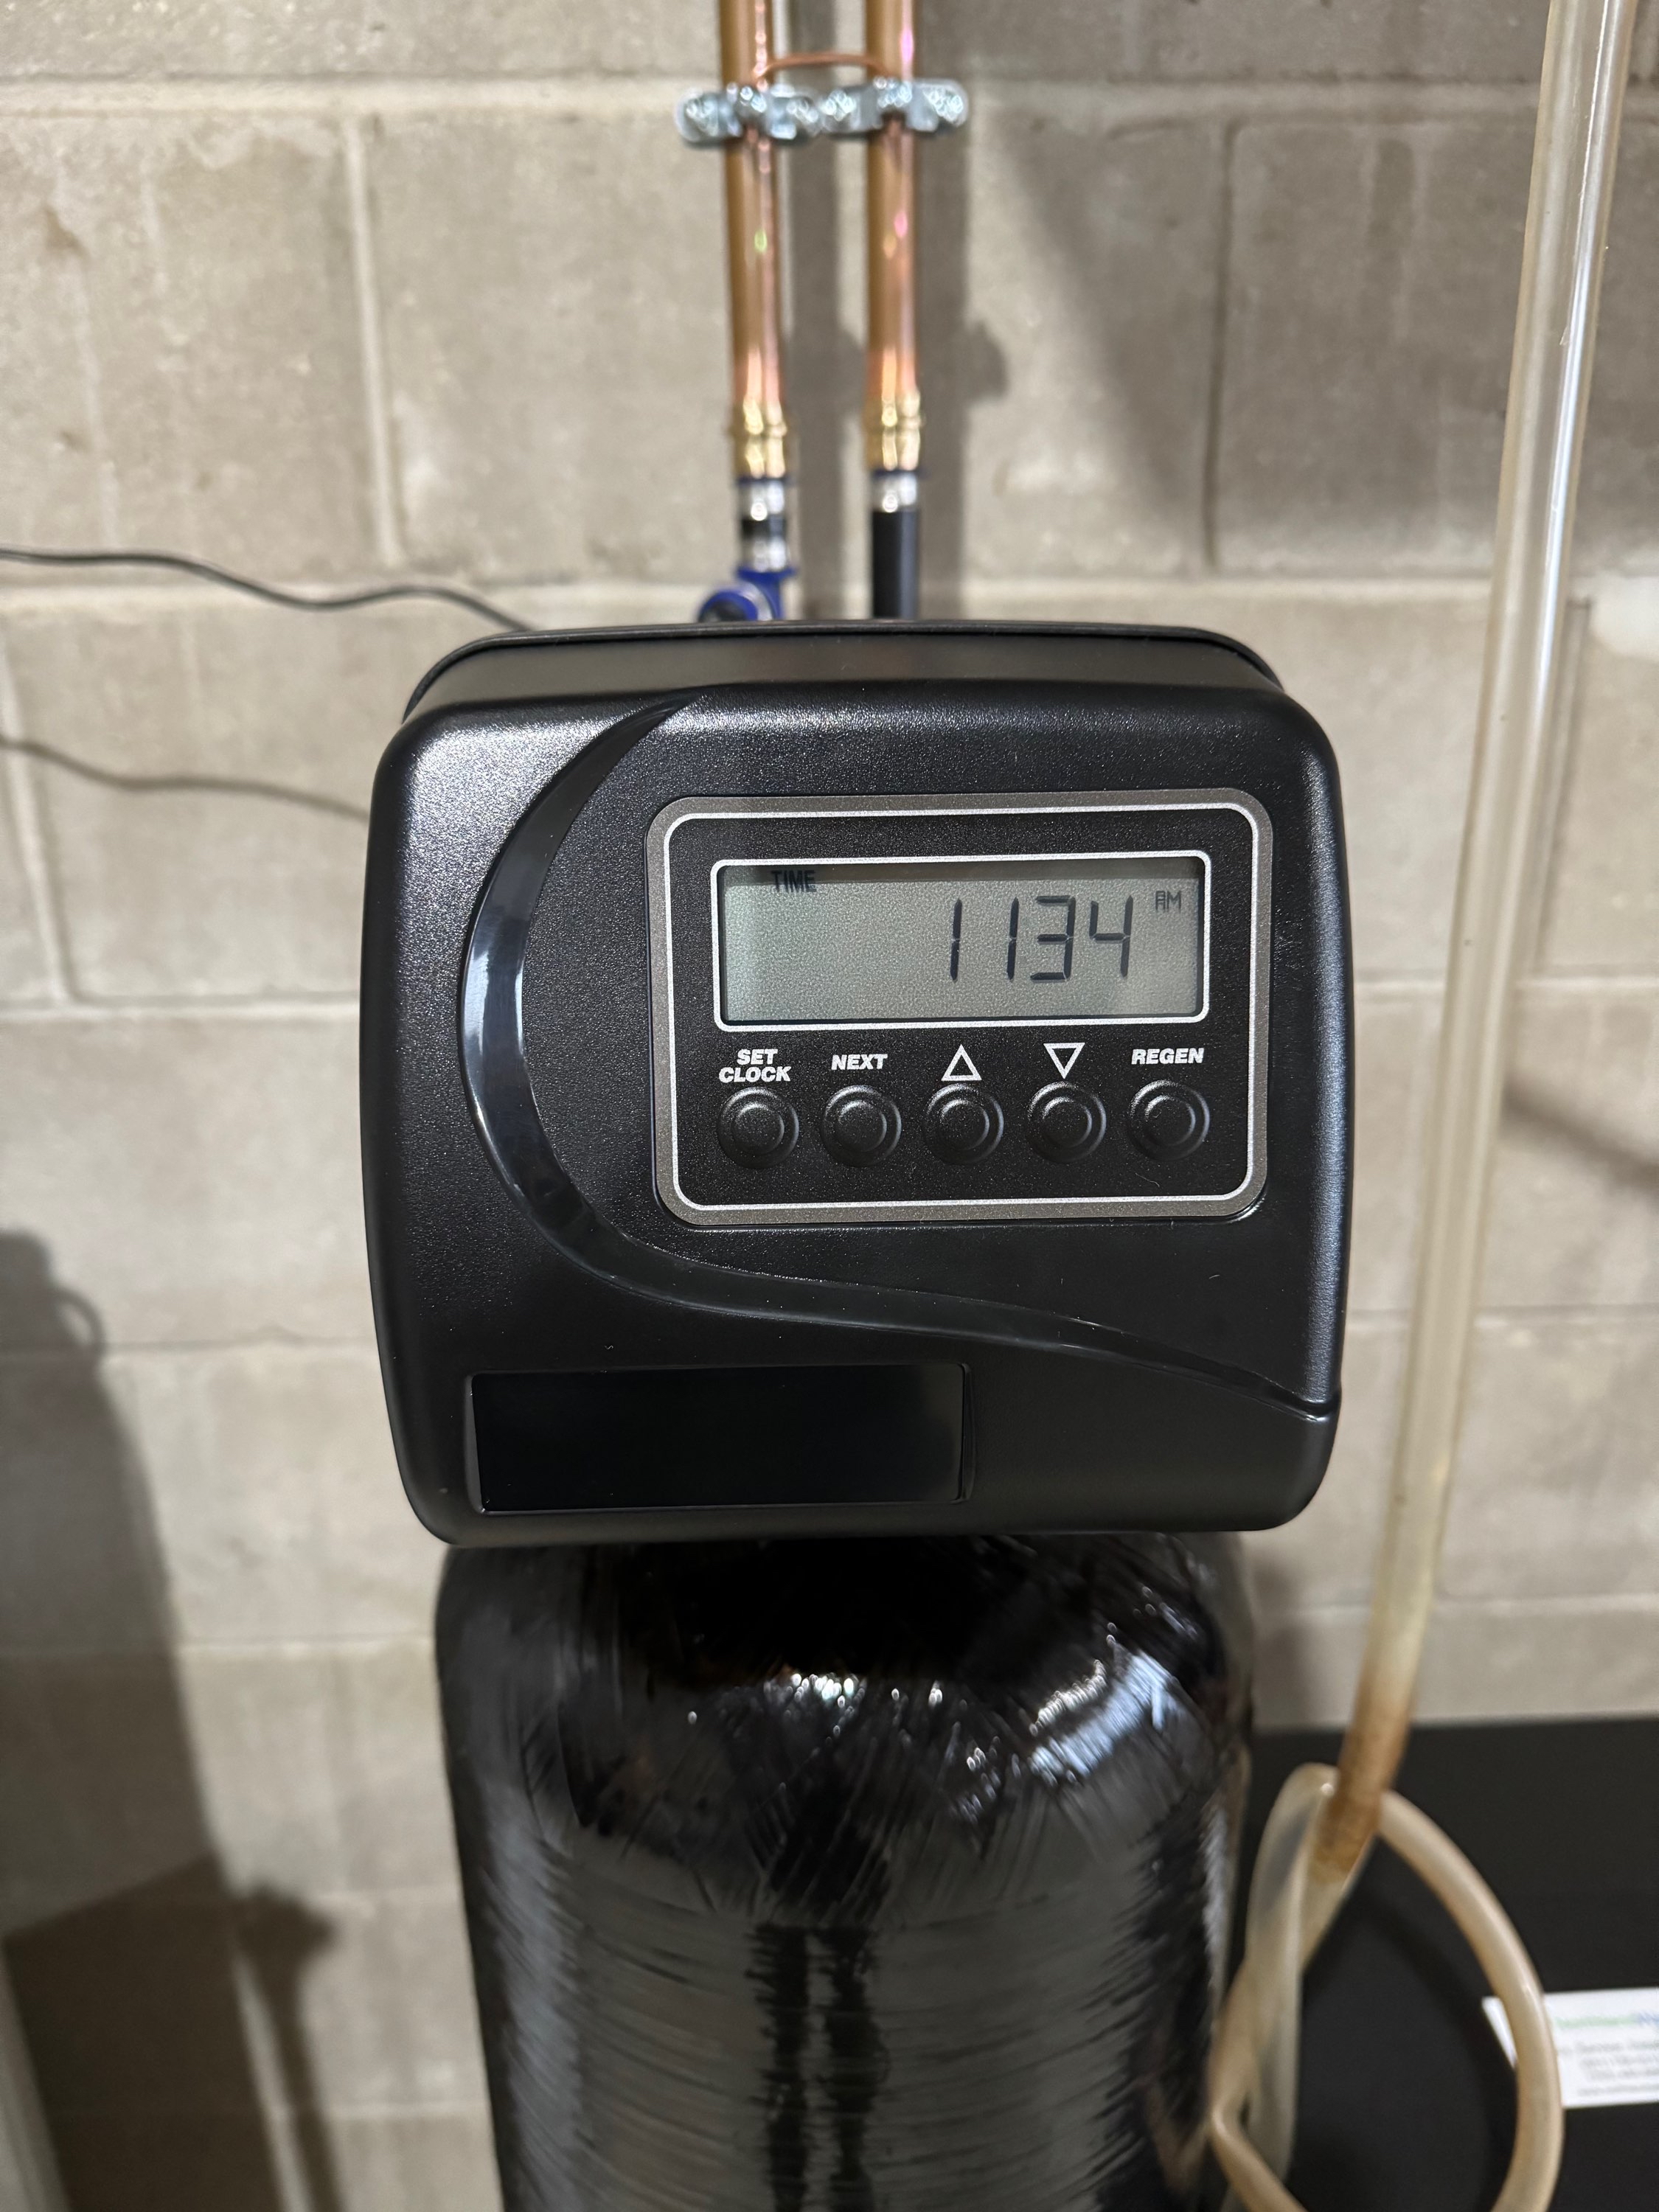
If you’ve ever noticed spots on your dishes, dry skin after showering, or your appliances not lasting as long as they should, hard water might be the culprit. Installing a water softener can make a huge difference in your home’s water quality. But how do you get started? Don’t worry - I’m here to walk you through the process of installing home water softeners with confidence and ease.
Why Installing Home Water Softeners Makes Sense
Hard water contains minerals like calcium and magnesium that cause all sorts of problems. You might see white scale buildup on faucets or inside your kettle. Your soap might not lather well, and your laundry could feel stiff. Installing a water softener helps by removing these minerals, giving you softer water that’s better for your skin, clothes, and appliances.
Here’s why it’s worth considering:
Protects your plumbing and appliances from scale buildup, extending their lifespan.
Improves soap and detergent efficiency, saving you money on cleaning products.
Leaves your skin and hair feeling softer and less dry.
Prevents spots and stains on dishes and glassware.
If you’re ready to enjoy these benefits, the next step is understanding how to install a water softener properly.

The Basics of Installing Home Water Softeners
Before you dive into installation, it’s important to know what you’re working with. Most home water softeners have three main parts:
Mineral tank - where the hard minerals are removed.
Brine tank - holds salt that regenerates the system.
Control valve - manages the softening process.
Here’s a simple overview of the installation steps:
Choose the right location: Near your main water line, with access to a drain and power outlet.
Turn off your water supply: This prevents leaks and water damage during installation.
Cut into the main water line: Use a pipe cutter to create space for the softener.
Install bypass valves: These let you divert water around the softener if needed.
Connect the softener to the plumbing: Follow manufacturer instructions carefully.
Set up the drain line: To dispose of wastewater during regeneration.
Add salt to the brine tank: Use the recommended type and amount.
Program the control valve: Set your water hardness level and regeneration schedule.
If you’re feeling a bit overwhelmed, that’s totally normal. The good news is, you don’t have to do this alone.
Should a Plumber Install a Water Softener?
You might be wondering, “Can I install a water softener myself, or should I call a plumber?” It’s a great question. While some handy homeowners can handle the installation, there are a few reasons why hiring a professional plumber is often the best choice:
Experience with plumbing systems: Plumbers know how to work safely with your home’s pipes and water supply.
Proper permits and codes: They ensure your installation meets local regulations.
Avoiding costly mistakes: Incorrect installation can cause leaks or damage.
Time savings: A plumber can usually complete the job faster and more efficiently.
Warranty protection: Some manufacturers require professional installation to keep warranties valid.
If you decide to go the DIY route, make sure you have the right tools and follow the instructions carefully. But if you want peace of mind and a job done right the first time, a plumber is a smart investment.

Tips for Maintaining Your Water Softener
Once your water softener is installed, keeping it in good shape is key to enjoying soft water for years. Here are some simple maintenance tips:
Check salt levels regularly: Keep the brine tank at least half full of salt.
Use the right salt type: Pellet or crystal salt designed for water softeners works best.
Clean the brine tank annually: Remove any sludge or buildup.
Inspect for leaks: Look around connections and valves.
Regenerate as needed: Follow your system’s schedule or regenerate manually if water hardness returns.
Test your water hardness: Use test strips or kits to monitor performance.
Regular maintenance keeps your system running smoothly and prevents costly repairs down the line.
How to Choose the Right Water Softener for Your Home
Not all water softeners are created equal. Picking the right one depends on your household size, water hardness level, and budget. Here’s what to consider:
Capacity: Measured in grains, this tells you how much hardness the system can remove before regenerating. Larger families usually need higher capacity.
Type of system: Salt-based softeners are common, but there are salt-free and dual-tank options too.
Regeneration method: Some systems regenerate on a timer, others based on water usage.
Size and space: Make sure the unit fits where you plan to install it.
Warranty and support: Look for brands with good customer service and solid warranties.
If you’re unsure, a local expert can help you pick the best system for your home’s needs.
Ready to Get Started?
Installing a water softener is a smart way to improve your home’s water quality and protect your plumbing. Whether you choose to tackle the project yourself or hire a professional, understanding the basics will help you make the best decisions.
If you want to learn more about water softener installation or need expert help, don’t hesitate to reach out. Taking this step means softer water, happier skin, and longer-lasting appliances. What’s not to love?


Comments